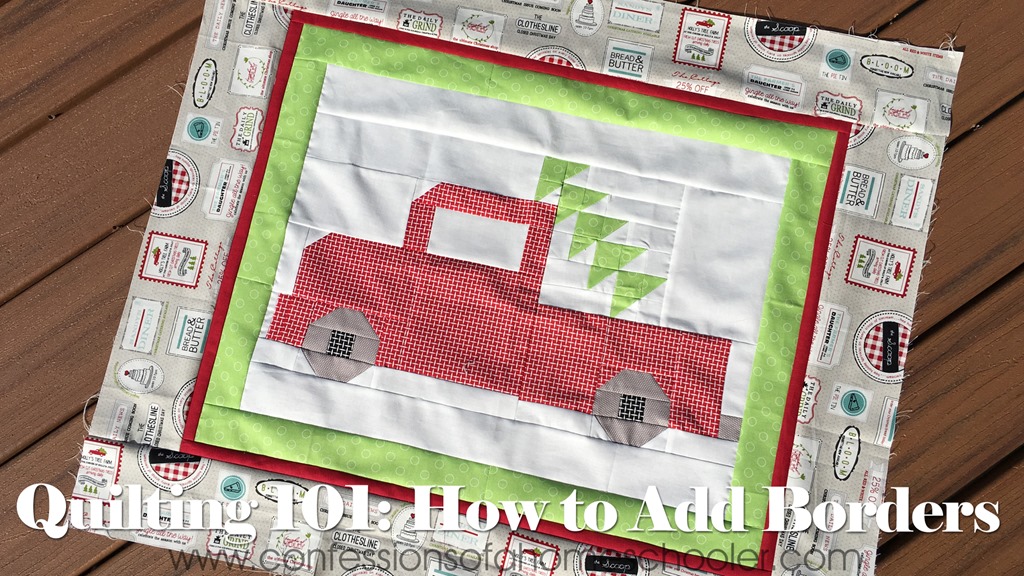
Hi friends! I’m back today with my How to Quilt series, and today I’ll be showing you how to add borders to your quilty projects! Borders are a great way to add visual appeal and increase the size of your projects.
I tend to do my own borders regardless of what a pattern tells me to do! I like creating different styles and sizes of borders to complete my quilts.
There are a few different ways to add borders to your quilts, but today I’ll be showing you how to add a simple straight border. Of course you can make them as fancy as you would like. You can add one border, two, three, or more! You can also do mitered borders, but we won’t be covering that in this video tutorial.
Watch my Quilting 101: How to Add Quilt Borders video tutorial here!
My Border Measurements: (Of course you can make your borders any size you like!)
- Border 1 (Green Fabric): 2” x WOF
- Border 2 (Red Fabric): 1” x WOF
- Border 3 (Grey Print Fabric): 4” x WOF
Supplies Needed:
- Fabric strips in colors desired
- Olfa Splash 45mm Rotary Trimmer
- Creative Grids Acrylic Ruler
- American Crafts Self-healing mat
- Sewing Pins
- Panasonic NI-WL600 Cordless Iron
- Here is a great website to do the quilty math for you: Quilter’s Paradise Quilt Calculators
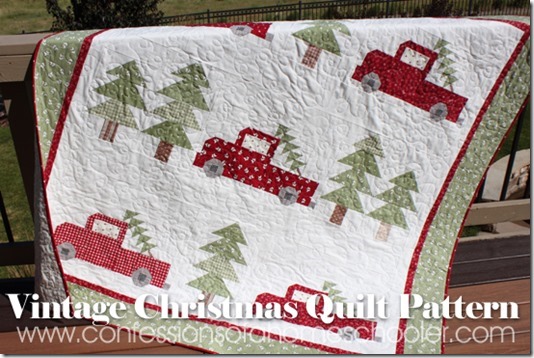
Want to make a Vintage Christmas Truck block like the one shown in my video?
–>> Click here to get my Vintage Christmas Quilt pattern!
If you just tuned in, here are more videos in my How to Quilt Series!
- Quilting Supplies: What do you need to get started?
- How to Choose a Sewing Machine
- How to Choose Fabric
- How to Cut Fabric
- How to Piece a Quilt Top
- How to Press Fabric
- How to Baste a Quilt
- How to Straight Line Quilt
- How to Free Motion Quilt
- How to Bind a Quilt (Machine and Hand!)
- How to Wash a Quilt
Here are a few fun beginner friendly projects to get you going!


