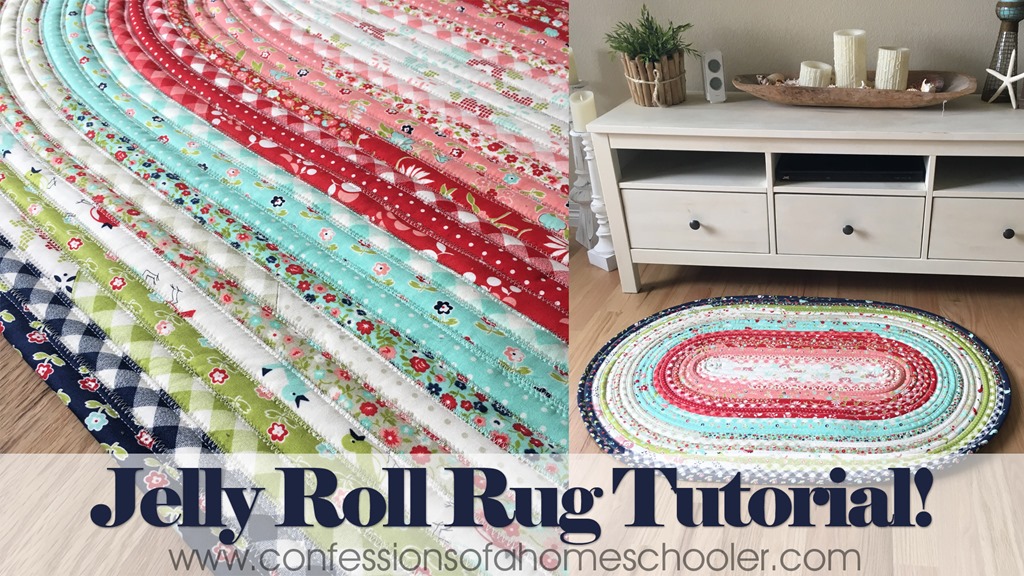
Hi everyone! I’ve had a ton of requests for a Jelly Roll Rug tutorial and so I’ve partnered with Roma Quilts to bring you this fun and easy tutorial along with my tips for sewing the Jelly Roll Rug!
Watch my Jelly Roll Rug Tutorial here!
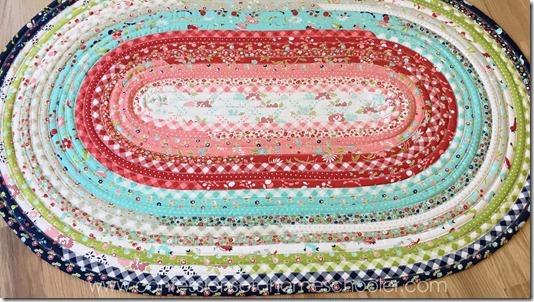
I used 1 Full Jelly Roll and the finished size was approx. 29″ x 44″. But you can use more or less strips depending on what size you want your rug! This pattern is super customizable 🙂
Tips:
- Wavy or bowing Edges: If your edges are wavy you are probably too loose when attaching your new strips. If your rug looks more like a bowl than a rug you are pulling too tight when adding new rows. Try to keep an even tension as you add each new row onto the rug, this will help your rug lay flat.
- Remove the rug from your sewing machine every few rounds and PRESS it and allow to cool flat, then continue on. This will help your rug keep its flat shape.
- Place an extension table on your machine so that your rug is laying flat as you add your rows. You can also use books and other objects to keep your sewing surface flat as you work.
- Washing: You can wash your rug by hand or in a washing machine on cold water and delicate if you have that option. Lay flat to dry.
Supplies:
- Jelly Roll Rug Pattern by Roma Quilts
- Jelly Roll of your choice!
- 16/100 Denim Needle
- Fusible Fleece or Quilt Batting
- 50wt Aurifil Thread ( Doesn’t have to be Aurifil, but I wouldn’t use a lighter weight thread)
- Panasonic Cordless Iron (Or any steam iron!)
- Optional: Best Press Starch (This can help with reduce waves!)
- Optional: Wonder Clips
- Optional: Walking Foot for your brand machine if you have one (I didn’t use one, and so I think you can get away without one, but if you have it, why not use it right?)
- Gingher Scissors
- Olfa Rotary Cutter
My Sewing Machines:
I hope those tips help and I would love to see your projects! If you post them on social media make sure to tag Roma Quilts and myself on Instagram so we can see what you’ve made!
Note: I’ve had so many questions about the quilt on the wall behind me! The barn blocks are from Lori Holt’s Farm Girl Vintage book, and the baby pig, cow, and cat blocks are Lori Holt as well and can be purchased from Fat Quarter Shop.


EEEEEKKKK mine keeps turning into a jelly roll rug bowl! What am I doing wrong?
Hi Janet, you may be pulling too tight when going around corners. Keep it looser so it doesn’t pull in. I also like to take it off every few rows and steam then cool flat.
Can you please tell me what size Wonder clips that you used. The link shows a page of all sizes of clips. Thanks
Hi Sherrie,
I have these: https://amzn.to/2DcUq7a they do have smaller ones, but honestly I don’t love those for whatever reason. I prefer the larger ones 🙂
Thank you for the tips and I love your fabric choices! I appreciate you letting us know what notions you use. I realize there are lots of options out there, but if somebody has made several of something and knows what products work really well and are most helpful, then great! I have a feeling once I make a couple that my 3 daugters and my daughter in law will want one!
You’re welcome, hope you enjoy!
I have the strips sewn together. But not sure how to do the raw edges. Can you help?
I tuck the raw edge under when I start and when I finish so you don’t see it. At the end I just taper off the edge and tuck it under the other outside strip so it doesn’t show.
Your tutorial was the best I’ve seen. I have started one but am running into a problem with puckering of the tail. I am going to try the walking foot now. Thanks for the great tutorial. I can actually see what you are doing!
What is the name of the fabric used in the jelly roll rug you are holding up at the beginning of your Official Jelly Roll Rug Tutorial? It’s not the Vintage Picnic fabric used in the tutorial… Thanks!
Hi I used NEST by Lellaboutique for Moda
I need help. Can you advise why mine is all ripply and if I can fix it. I have ironed and ironed it
Hi Jerilyn,
Make sure when sewing around the corners and edges that you are pulling the new rope you’re adding just a bit so it’s a little tight. You don’t want it to be too loose or too tight both can cause ripples. Also taking it off every few rows and pressing can help. If you’ve finished you might try steaming it and then putting something onto of it to help it cool flat.
I have ripped mine out twice. It waves on the edges. I’ve pressed each round. What might I be doing wrong.
Hi Theresa,
You may want to make sure you aren’t pulling too hard as you go around the corners. You want to keep the new fabric rope taught, not too lose or too tight. Too loose and you’ll get waves, too tight and you’ll get a bowl shape starting.
Would this work well as a table runner and/or placemats if sized appropriately? Seems as though it would. But since I’ve never made one, I thought I better get your opinion.
Yes, I think it would!
I have tried and un made several times, still wavy even with ironing and level sewing area. Could it be the 30 st thread?