
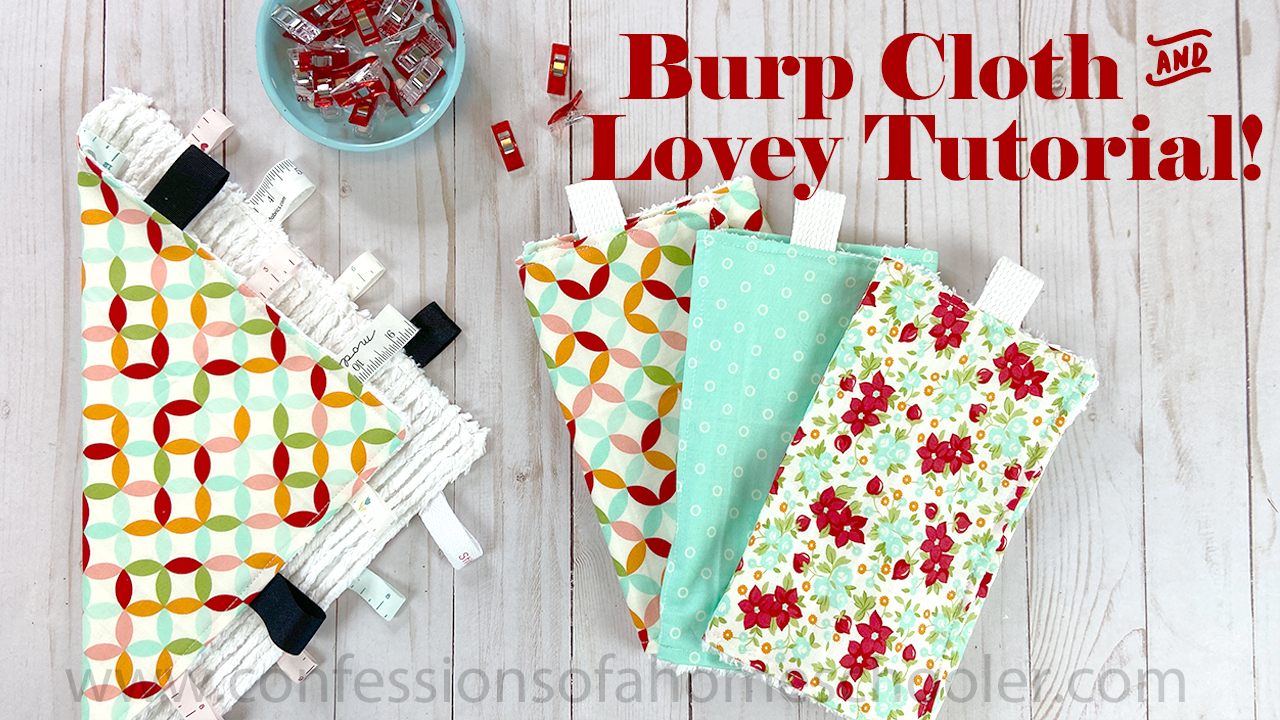
Hi friends! I have a really fun and beginner-friendly sewing tutorial for you today! I’ll be showing you how to make these adorable burp cloths and baby loveys! They’re super easy and make great hand-made gifts. Let’s get started!
Ready to get started? Here’s what you’ll need:
- 1 FQ Cotton Quilting Fabric (I used a Bonnie and Camille print from my stash)
- 1 FQ Cotton Chenille or Terry Cloth
- A rotary cutter
- Acrylic ruler
- Iron and ironing board
Watch Erica’s Easy Burp Cloth and Lovey tutorial here!
Burp Cloth Instructions:
- Cut a 9.5″ x 16.5″ from both the Chenille and the cotton fabric
- Cut a 3.5″ long ribbon as an accent
Lovey Instructions:
- Cut a 12″ x 12″ piece from the Chenille and cotton fabric
- Cut several decorative ribbon strips into various lengths (I used 16 pieces for mine)
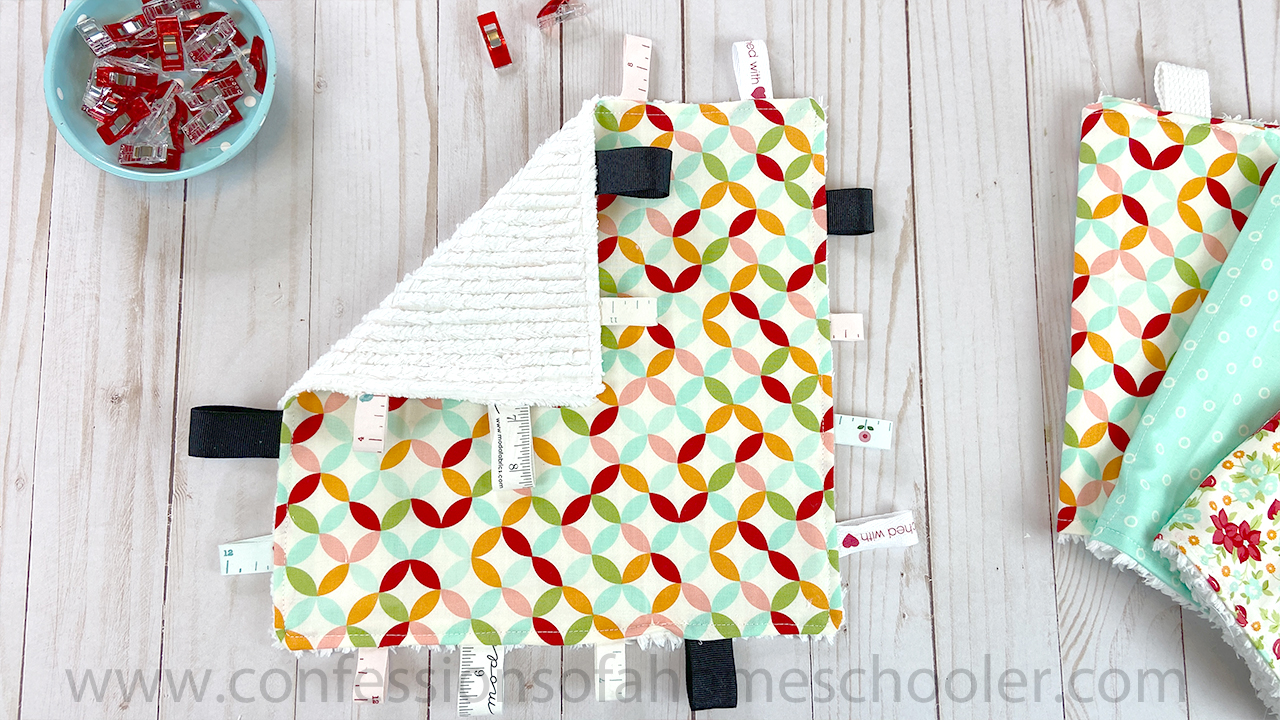
Fold your decorative ribbon in half. Line up the raw edges of your ribbon accent along the raw edges of the Chenille and clip in place. I put mine on the top left corner of the for the burp cloth and all around the edges for the lovey. Next place the Chenille and print fabrics right sides together and clip in place.

Sew around the edges using a 1/2″ seam allowance, leaving a 3″ opening in one side. Clip the corners of the sewn unit close, but not through the stitch line. Turn your project right side out and press. Sew a top-stitch along the outside edge about 1/4″ in to finish it off, making sure to close up the opening. If you’re making the lovey, don’t forget to add in your final ribbon into the opening as shown in the video.

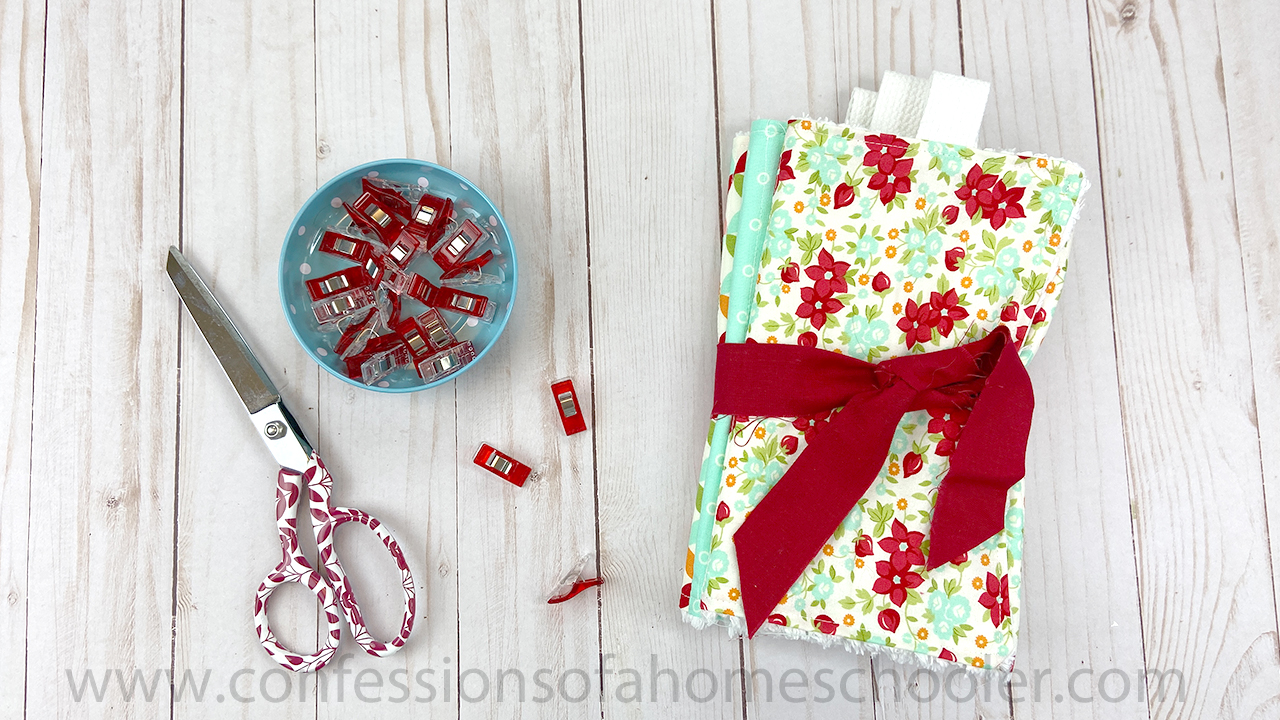
Now, go make more and bundle them up using a fun fabric scrap!

I hope you enjoyed today’s tutorial!