
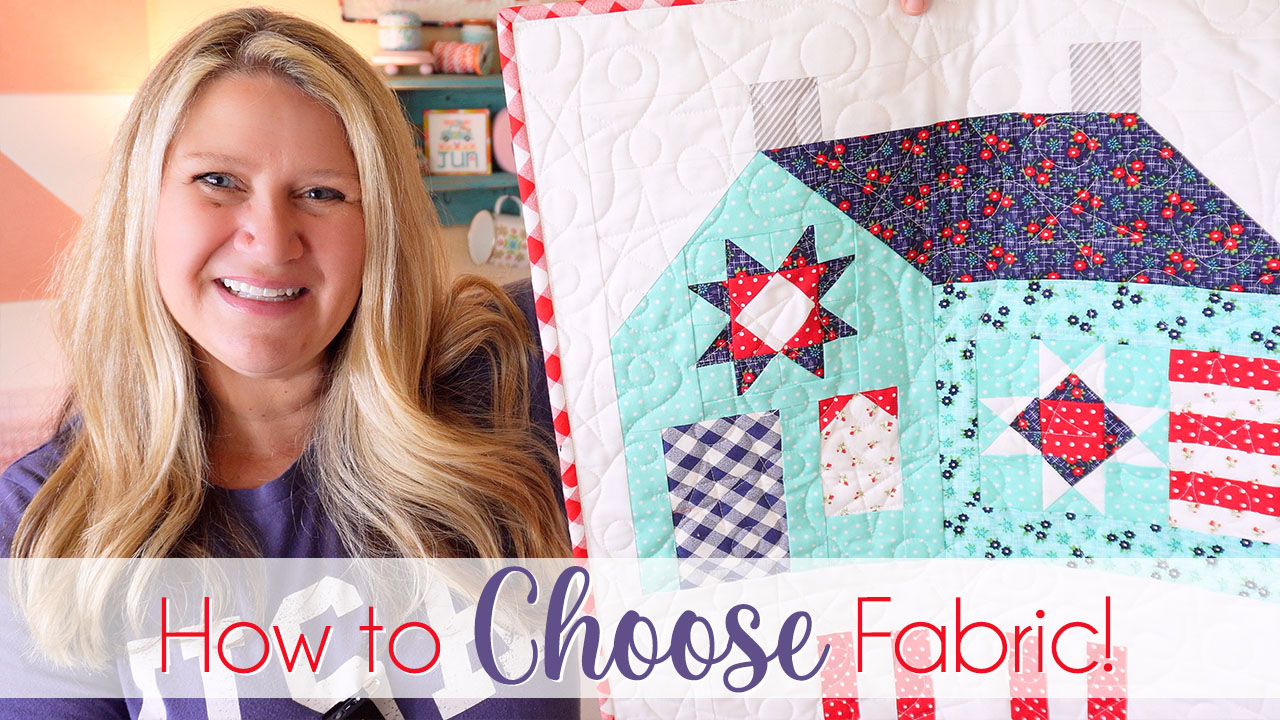
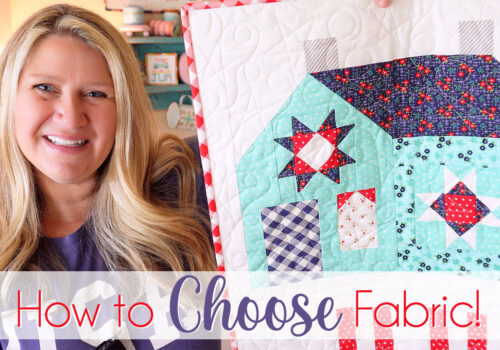
I’m back with another fun video in my Quilting 101 series. Today we’re talking all about fabric! Finding cute quilt patterns is easy, but choosing the perfect fabric for those projects can often be the hardest part! In today’s video, I’m going to walk you through my process for choosing fabric for my quilty projects.
We’ll talk about how I pull fabrics, how I audition them, and how I come up with a final plan so I’m ready to sew! Keep in mind that my “final plan” can often change as I’m sewing too!
Feel free to use these tips as a starting point, but in the end, choose what you love!
Watch my How to Choose Fabric video here:
Tip 1:
Start by pulling fabrics in the color scheme you would like to sew your project in. Just grab things that catch your eye, and that have the vibe or feeling you want for your project. Lay them all out on a table so you can see them all together.
Tip 2:
Audition your fabric pull to see how they look together. I will often lay them out on my table overlapping one another to make sure they don’t clash. I try to keep my fabrics so they are similar in tone, either “cool” or “warm”. And then I do my best to make sure the fabrics blend well, and that everything goes together nicely, especially fabrics that will be side by side. I also try to make sure that I have enough contrast in my fabric selections. I also suggest making sure you have a little color “pop” so doesn’t read as one similar color with no excitement or movement.
Tip 3:
I like to live by the rule of thumb that large prints are for large cuts, and small prints are for small cuts. This isn’t a die-hard rule, but it’s usually a great way to get started. I like to fold or unfold the fabric, so they are about the approximate size they will be represented in my final project. Sometimes a print will look great when it’s folded nicely into a fat quarter. But then when you use it in a large area, the design is just too overwhelming. Laying them out as close to their final size as possible is a great way to avoid this! If you have a tiny little 1″ square, using a large print will be pointless because you will lose the design altogether. Similarly, if you use a small print for a very large area, it can be overwhelming and often feel like it’s just “too much”. I also like to use the larger prints for my backings as well. They’re perfect for taking up a lot of space and letting the design really shine! That said, I’ve also used smaller prints for my backings as well, so just go with your gut and choose what makes you happy!
Tip 4:
Don’t forget to fussy cut! Fussy cutting is simply choosing a specific area to cut out so that a particular motif can really stand out. Fussy cutting is really for fabrics that have specific motifs on them, a design that you can clearly identify and cut out. (An all-over print isn’t usually good for fussy cutting because no matter how you cut it, the design looks the same.) A great use of this technique is, for example, a sawtooth star block. They usually have a nice plain square center, and fussy cutting a cute motif so that it’s centered in that square is the perfect way to let that design shine! Fussy cutting is also beautiful in English Paper Piecing! Keep fussy cutting in mind when choosing your fabrics.
Tip 5:
Once you have selected your fabrics, get started cutting and sewing. Don’t be afraid to change things as you go! Sometimes the fabric I chose for a specific area just doesn’t look good once I get to that step, so I change it. I also like to select my binding at the very end once the project is done. I’ll lay the quilt out on top of my binding fabric options, with just a little bit of the fabric showing on the edge to see if I like it. I try different fabrics this way until I find something that nicely frames my finished project.
Tip 6 The Most Important Tip!
Make sure to have fun! You’re in charge of your own projects, and if something makes you happy, go for it!
Here are a few of my Quilting Tutorials online:
- Pink Pig Rag Quilt
- DIY Tic-Tac-Toe Board Game (*Great for learning beginning skills!)
- Patchwork Book Cover
- Quilt-as-you-go Book Cover
- Kids Pillow with Pocket
- How to Applique’ Basics (Don’t worry it’s super easy!)
- Thread Catcher Tutorial
Here’s a crash course on precuts:
- Fat Quarter: Fat quarters are usually 18” x 22’’ fabric cuts.
- Fat Eighth: These are half of a fat quarter, so they measure 9” x 22”.
- Layer Cake: (a.k.a stackers) 10” x 10” square fabric cuts.
- Charm Pack: 5” x 5” square fabric cuts.
- Candy Packs: (a.k.a. mini-charms) 2.5” x 2.5” square fabric cuts.
- Jelly Roll: 2.5” x approx. 42” strips. They are usually the length of the width of fabric (WOF).
- Honey Bun: 1.5” x approx. 42” strips (WOF).
- Dessert Rolls: 5” x approx. 42” strips (WOF).
- Honeycombs: These are newer to the precut world and are 6” hexagon precut shapes.
- Turnovers: These are triangle shaped precuts. Currently they come in 10” and 6.5” half square triangles.