
Today I’m sharing how you can make this super simple medical face mask. Please keep in mind these masks will not prevent you from getting a respiratory illness, however they can be used to keep someone who is sick from spreading germs while coughing and sneezing.
In some areas, they are also being used by medical professionals during this time as well. Currently, the supply of surgical masks is at a critical all-time low throughout the entire nation. As a community of sewists, this is a great way we can band together and make a huge difference in this time of need!
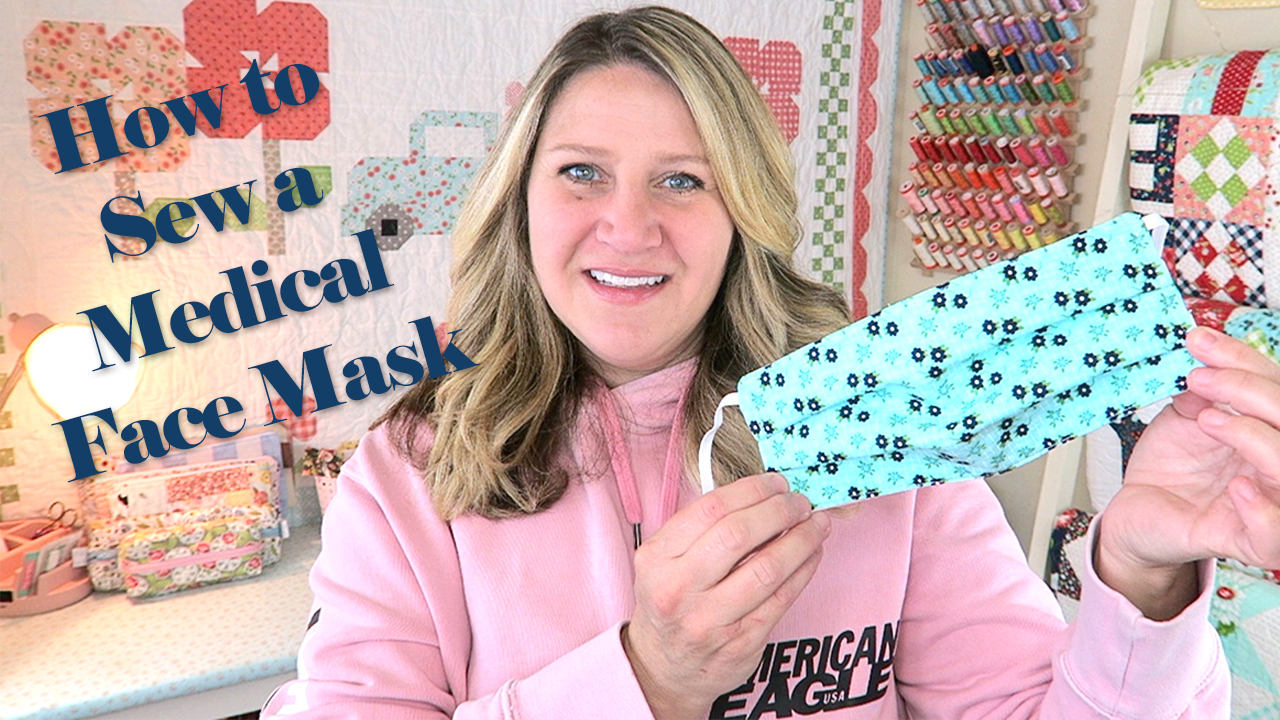
Watch my How to Sew a Medical Face Mask here:
Download the FREE HOW TO SEW a FACE MASK PDF here!
While handmade fabric masks are NOT a replacement for medical grade masks, in times of emergency, the CDC may allow fabric masks to be used when a shortage such as this takes place. You can read more from the CDC here on the use of homemade masks.
SUPPLIES FOR THIS PROJECT:
- 2 pieces 100% cotton fabric 6″ x 9″
- 1 piece cotton flannel or interfacing 6″ x 9″
- 2 elastic strips 1/8″ x 6” for women, and 7” for men
- Cotton Thread
- Juki TL2000 Qi
- Oliso Pro Smart Iron
- Creative Grids Ruler
- My favorite Scissors
- Clover Wonder Clips
ALTERNATE SIZING:
- Kids: 5″ x 7″ with 5.5″ elastics
- Adult Female: 6″ x 9″ with 6″ elastic
- Adult Male: 7″ x 9″ with 7″ elastic
DON’T HAVE ELASTIC? Use ribbon or fabric ties 18”-20” in length.
To make fabric ties, cut a strip of fabric 1-1/2”x 18-20”. Fold one short end 1/4” in and sew. Next fold the fabric strip long edges in so they meet in the center then fold in half lengthwise again. Sew down the open edge to secure. Place the tie with the raw edge next to the corners of the mask just like the elastic is shown in the video. Tip: Make sure not to sew over the loose end of the tie as you sew around the mask.
*** Please wash thoroughly after each use! ***
Tip: Use tightly woven fabric, or hospital grade material. Keep in mind men and women will be wearing the masks when choosing fabric for masks that will be donated.
With the current shortage, I suggest contacting medical facilities in your area to see if they are in need and if so use your skills to help serve our community in this way!
While wearing homemade face masks may not prevent against catching respiratory illness, they can help reduce the spread of large particles when someone who is ill sneezes or coughs.
I hope this tutorial can help some of your families and give you a way to give back and help in this time of need.
My mom just got this request from her niece “She wants me to sew face masks and send them to Nikki ( who works in healthcare) so they can put them over the other masks so they don’t run out of them. I can do that. Then they can wash the cloth ones. She said this is getting serious fast for health care workers so they do not get sick.”
Got this message right after I saw this post. Thanks for fulfilling this need before we even knew we needed it.
I’m having trouble getting the elastic the correct length for several members of my family. 7” is to large for some 5” to small. Is there a way for family to adjust the elastic when they receive them that I cannot think of?
You might want to try making them with ties if you’re giving them away and can’t measure to make sure they fit. I found 6″ works well for women, 7″ for men, and about 5.5″ for kids. But everyone is different so the elastic can be hard to do for one size fits all 🙂
Any thoughts/suggestions if you cannot find any narrow elastic?
I added instructions on how to make fabric ties in the description below the video as well.
I have to agree with all the comments that have been posted to the YouTube videos! This is the easiest set of instructions around — and the mask really does fit nice and snug around the face! Fantastic! Thank you soo much! I found it yesterday — and promptly spent much of the day making 4 of them! As I was working through the steps, I found a way to incorporate something I saw in several other videos — a twist tie (or other wire) over the nose, to pinch it into place and make a tighter seal with the face. And I also found a way to keep the 4 ties under control 🙂 Here’s what I modified:
1. Many comments to the YouTube video commented on the layers — I used only two, material from old sheets. I also found pins kept things in place better than my clips.
2. I found piling the 4 long ties into the middle of the mask was too bulky. Instead, I had them all coming out one of the short sides: the ties from the opposite short side just lay flat, while the ones on the side with the opening were folded back on themselves (ca 3 in”), to also come out that same short side. You end up with a rectangle with 4 ties hanging out one side 🙂 And the two rectangles of the mask can lie a lot flatter — made the sewing much easier, I found.
3. NEW: before turning the mask right side out, I added a 2.5″ piece of twist tie (actually … I took the tie that’s used to close bags of cookies, and cut it in half!). The tie sits at the TOP, just inside the stitch line (that is, NOT in the seam allowance). Use the widest zigzag (with stitch length maybe .5) to slowly/carefully sew from side to side, right over the length of the tie. It’s not going anywhere now!
4. Once the twist tie’s been sewn over, the mask can be turned right side out. Pulling on the ties made that much easier.
5. Because of the twist tie, top stitch has to start/end on either side of it.
And voila! A fabulous face mask.
So again, I add my thanks to Erica, along with everyone else, for having posted such great instructions … I can’t make a video like that, so I’ve had to resort to words. Hope they make sense to people!
Hi, thanks for your kind comment and tips! I also started pulling my ties out the side where I left an opening to turn and it was much easier 🙂
try hair bands. You can find a whole bunch at the dollar store
How are you applying the hair bands to this pattern…are you cutting them apart or something else? Thanks.
Do you have the measurements for masks for children?
Just found your blog. Love it sent it to my kids to help with home schooling right now.
Thank you
yes, they’re in the blog post above.
Our local hospital requests fabric ties because there is latex in elastic and they avoid latex. They also want a pocket on the front. Thanks for the great video tutorial, as always!
Does anyone know hot to attach cord elastic to this pattern. My machine seems to want to just push it around so I’m concerned it won’t be attached well. I couldn’t find any flat elastic.
I want to thank you on the pattern for face masks. I’m a sewer and I make all kinds of things. I dug out all my fabric and made 63 face masks so far. I gave them to nursing home. Thank you again.
Hi – if you tie a knot in the end of the cord elastic before you sew it in, it can’t pull through the stitching (still go back and forth over it though). I got this tip off the internet, but unfortunately can’t remember the person, or I would credit them here.
Hi,I was wondering what do use or do if I don’t have any flannel for the middle? All I have is the fleece stuff you iron on. Not sure that would work with washing and drying.
Hi Nicole, you can just use 100% Cotton for all there layers. I’ve heard conflicting reports on the use of flannel, some say it’s better because it’s a thicker woven fabric, some say don’t use it. I don’t think I would use fusible fleece though, the glue isn’t very breathable and probably not good for you either 🙂
When do I start to make a MEDICAL FACE MASKS
Thank you for this wonderful and easy tutorial, Erica. I made about ten of these this past week for family and friends. I’ve also featured you on a DIY face mask tips and tricks collection on my site today. (do-follow, non-pinnable, one image). Let me know if this is a problem for you. Thank you!