

Hi everyone! Today I’ll be showing you how to make this super cute and easy sewing machine mat tutorial. You can use these for any craft supplies you like, but I love putting it under my sewing machine so I can keep all of my tools handy!

This project is super easy and beginner friendly, and as always I’ll walk you through it in my step-by-step video tutorial!
So let’s get started shall we?
Watch Erica’s Sewing Machine Mat Tutorial here!
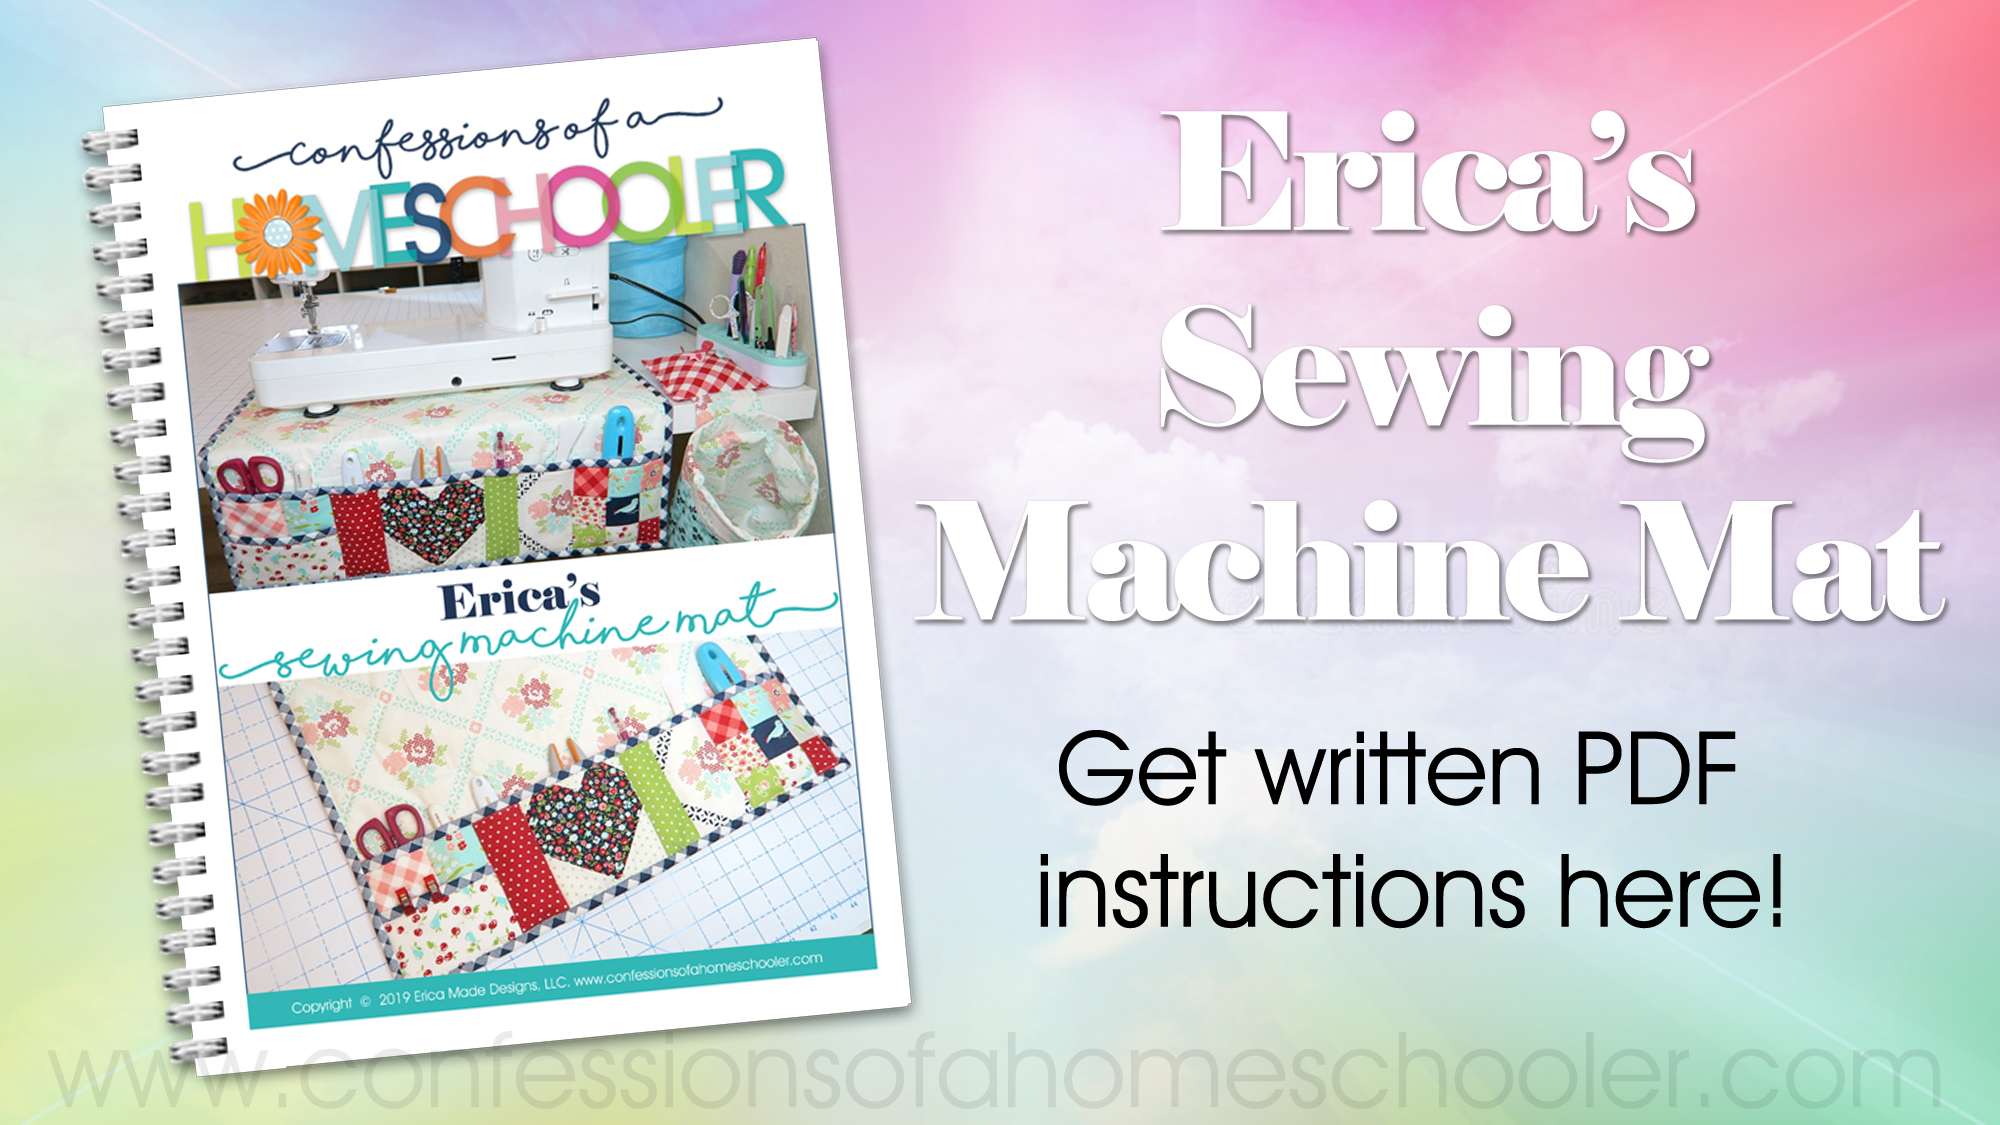
Do you prefer written instructions?
Get the Erica’s Sewing Machine Mat PDF pattern here! It includes easy to follow step-by-step written instructions along with detailed graphic illustrations to make sewing this project a breeze!
Supplies used in this tutorial:
- Vintage Picnic Fabric by Bonnie and Camille (This is an older print, but they release new ones each year!)
- Fusible Fleece or Cotton Batting
- 50wt Aurifil 100% Cotton Thread
- Creative Grids Ruler
- Panasonic Cordless Iron
- Wonder Clips
- Sewing Scissors
- Magnetic Pin Bowl
- Olfa 45mm Rotary Cutter
- OLFA 45mm Endurance Blade
- Frixion Erasable Pens

Thanks for joining me today, I hope you enjoyed this tutorial! If you make this project, tag me @ericaarndt and use #ericassewingmat so I can see what you create! 🙂
If you have something you’d like to see a video tutorial on let me know and I’ll see what I can do!
And make sure to follow me on YouTube and Instagram to keep up with all of my fun projects!

Came across this video on youtube today then came here to download. Looking forward to giving this a try! Thanks for the pattern and instructions!
Erica, your mat is the cutest. I made a different one and want to replace it already with your. But I couldn’t access the written instructions without paying for it. I thought it was free, like your video?
Hi Chris,
the video is free and the cutting instructions are all listed for free in the description box below the video on YouTube. If you would like the PDF download, I do charge a small fee for those as they take a while to write and do graphics for 🙂 Those small fees also help me be able to make more free tutorials for you!
I love this! I have been looking for a sewing mat to purchase. Would you be willing to make one to sell? Thanks so much!
Hi Jerri,
thanks so much for the offer, unfortunately I don’t usually make the items to sell. I prefer to teach people how to do things themselves rather than sell the final product.
Very cute. Thank you for showing us
Hi Erica. I loved making your sewing mat..I have made 2 of them. Just wanted to let you know that I had more trouble with the thickness of the pocket area. I have a sturdy Babylock machine but I had a lot of skipped stitches. If you have any suggestions for sewing through all those layers that would be great. For the second one I used SF101 interfacing on the pocket and the lining of the whole pocket area. I still used batting in the main part of the mat. The thickness was significantly decreased and my machine handled it with no problem. By the way might I ask what kind of machine you use. I am in search of a good heavy duty machine as I make a lot of bags. I’m ready to start my third one . The first two are Christmas gifts. Thanks again. I love your tutorials.
Hi Selene, I used my regular needle, but you might want to try a Denim/Jeans needle to see if that helps! But the interfacing idea might be helpful for others as well so thanks for sharing! I have this machine and LOVE it!! https://amzn.to/2HbD8KN
I’ve just started to learn how to machine sew and I’m excited to start on this project (it’ll be the first for myself!)
I love your videos and print outs – so easy to follow and you are enjoyable to listen too – thank you
Hi Erica first let me see that I really enjoy your videos especially the unboxing ones although it’s a tie I love the quilting ones too I do have one question though I’m going to beginner sewer and I get the maximum box also and I found that the box we got would just the seven spools of thread I felt ripped off is it just me because I’m a beginner and I don’t know any better
Hi Renee, this box is a specialty box which she puts out every now and then. It wasn’t my favorite box either, but you may want to wait one more month to see because typically they have an entire project in the box, fabric, pattern, thread, etc! 🙂
Thanks so much for this AWESOME tutorial. Can’t wait to make my mat. 🙂 I sewed my first quilt using your Pinwheel Rag Quilt tutorial last year, now I’m hooked!!
Nice Tutorial. I love this.
Hi Erica, I love your projects and although I am very much a beginner at sewing I have made a few of your things now and have just enjoyed making the sewing mat. However, I have a problem in that I just don’t get binding! I followed the instructions and as on other projects I’ve tried using binding, when I fold the binding over and sew it down, it shows as a very uneven wavy line on the opposite side of my project with some stitches on the binding and some not, I feel like I’ve ruined it at the final hurdle!! As I say, I am very much a novice but would appreciate any tips and advice on where I’m going wrong! TIA
Hi Rachel,
Binding is actually one of those steps that just takes practice. The wavy lines you’re seeing on the back are just from you not stitching exactly straight. And if you see stitches on top of the other binding it just means you got off line and went over the binding you have already stitched in place. If it’s really not working to do it the way I show in the video, you can actually turn your project over so the front side is facing you, then stitch the backside binding on but from the front. You’ll stitch in the ditch of your front side binding. I don’t personally like to do it that way because I find that sometimes I miss the binding on the back completely, so I like to see what I’m sewing on. But some people prefer sewing on the back binding from the front side.
Hi Erica
Thank you so much for getting back to me, I really appreciate it and your advice. I think like you say, being so new to all this, that I just need to practice more. I’ve only done a few things to date with binding but as it’s never worked quite as planned I have let it become my nemesis somewhat!!!! I will practice, practice, practice. As for the sewing mat, it looks lovely (if you don’t study the binding up close lol!) and I look forward to more of your projects 🙂
Rachel x