
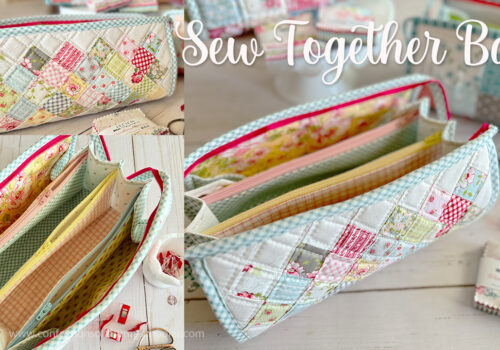
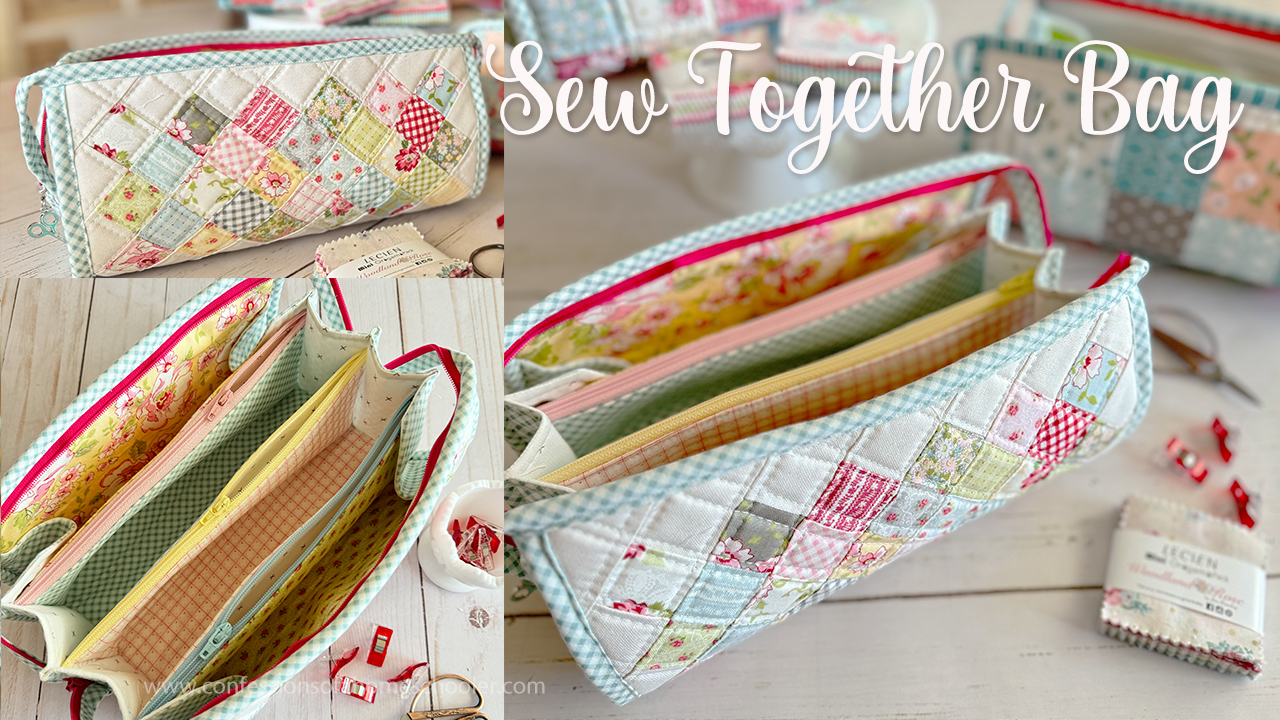
Happy Thursday friends! In today’s video tutorial, I’m showing you how to make the Sew Together Bag by Sew Demented. This bag has been on my “to-do” list for a while now, but I have to say I was a bit intimidated by all of those zippers! But it’s a new year, and I decided to kick it off with a bang!
I’ve made three of these bags now, and I’m hooked! The paper pattern can be challenging to follow, so I contacted the designer and got permission to do a video tutorial for you! I’ll be sharing all of my tips to make this bag easier, including a step-by-step tutorial to help you through every step!
Supplies and Fabric Used:
- Bag 1: Ambleside by Brenda Riddle (1-1/2″ squares)
- Bag 2: Nest by Lellaboutique (2-1/2″ squares)
- Bag 3: Woodland Rose by Jera Brandvig (2-1/2″ squares)
- Juki TL2000 Qi
- Wonder Clips
- Friction Erasable Pens
- Clover Hera Marker
- Fusible Fleece
- Sew-In-Foam
- Laurastar Titan
- Denim needle
- Sewing stiletto tool
Get the Sew Together Bag pattern here!
Watch the Sew Together Bag Tutorial here:
My Tips and Tricks!
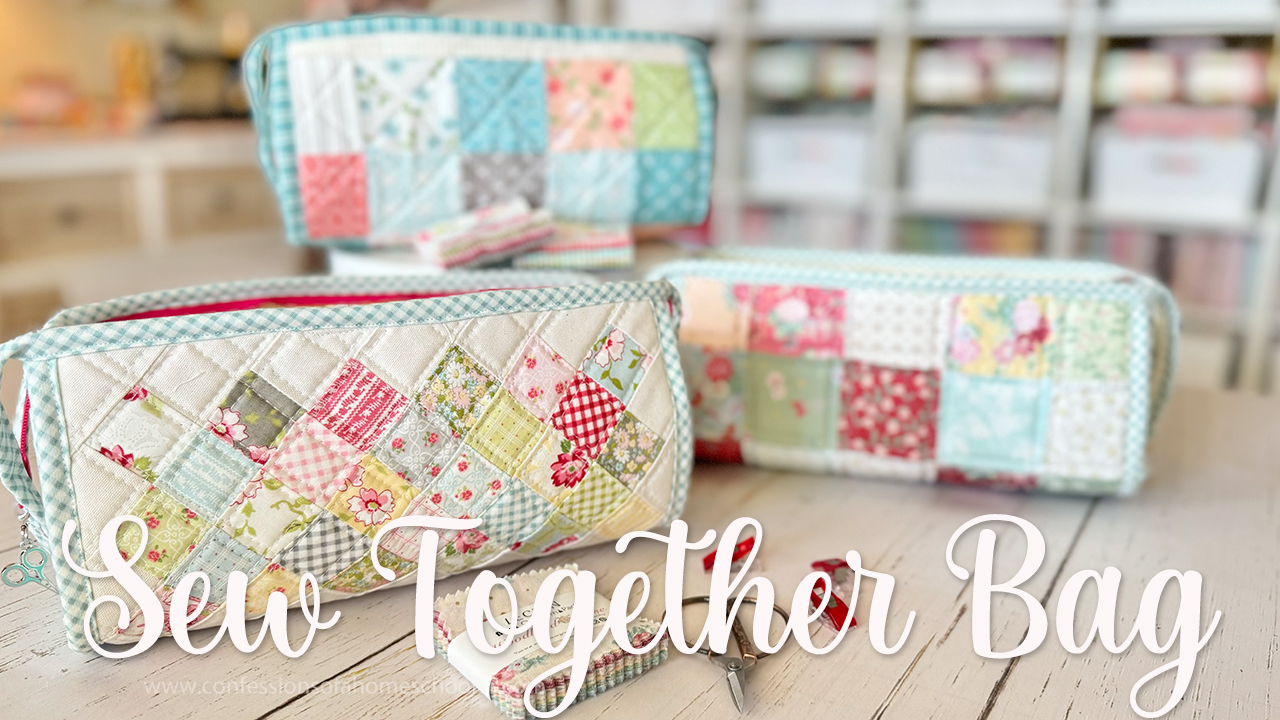
TIP #1: Have fun with the outside panel! You can get creative here! I don’t have a formal pattern for my outside panels. I just had fun sewing! I sewed together squares making a panel that was a bit larger than the final piece in the pattern, then cut it down to size.
For the bag in the image above, I used (28) 1-1/2″ squares, (16) 1-1/2″ x 4″ background strips, and (2) 2″ x 4″ pieces for the corners. I sewed the rows together to create the on-point patchwork, then trimmed the final section down to size.
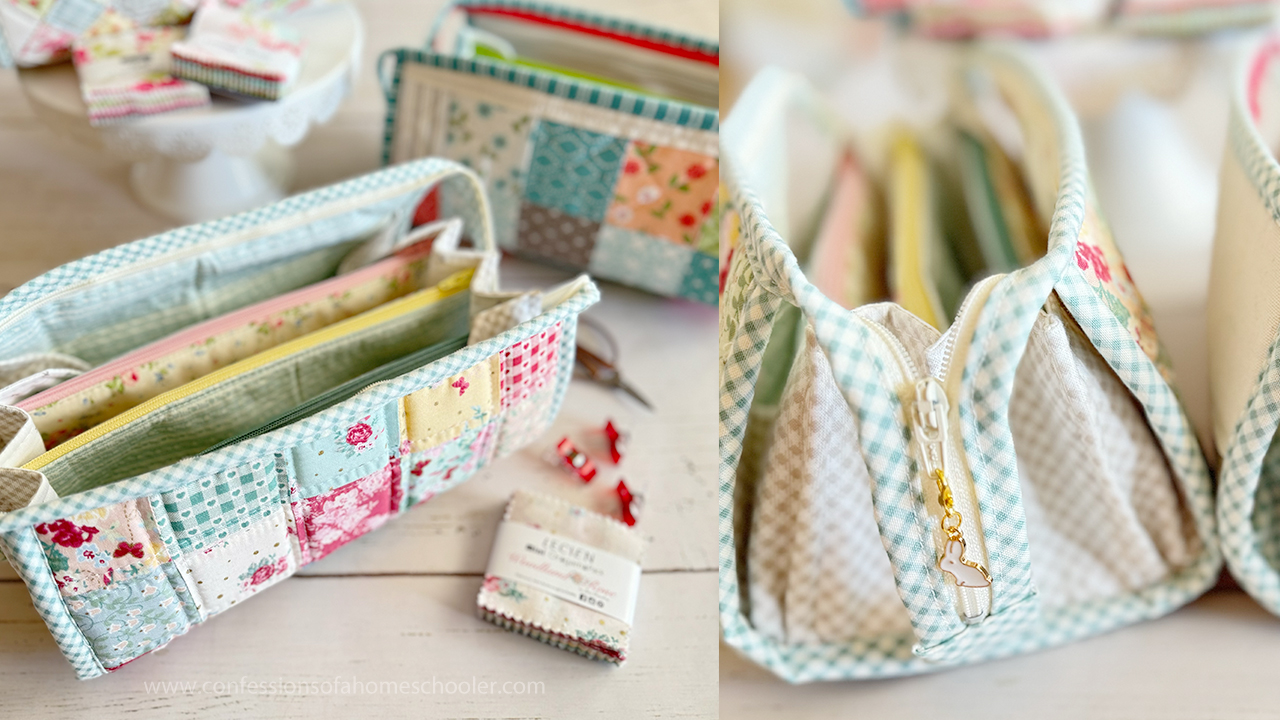
I used Sew-In-Foam for my outer panel. It gives the bag some great stability, and it gives your quilting stitches great definition! It’s fusible, so you don’t have to quilt if you don’t want to. But I think it adds to the beauty of the bag!
For the inner pockets I used a Fusible Fleece. It’s a bit thicker than regular interfacing, and also has a little “squish” to it, making your bag nice and soft!
TIP #2: Its important to press your pieces as you go. That helps keep everything looking nice as you sew them together and creates a much nicer finished product as well. For this project, I used my new Laurastar Titan for this entire project. The dry steam is perfect for bag making, and made attaching the fusible interfacing a breeze!
TIP #3: If you plan to quilt your outer panel, I recommend making it 1/2″ larger than the pattern calls for. (So a 1/2″ wider and longer.) The quilting draws the fabric in and shrinks your panel a bit. If you aren’t going to quilt it, then just make the panel the size called for in the pattern. If you are making several bags like I did, I recommend making them all at the same time. I made all of the outside panels first, then sewed them all together going through each step at the same time!
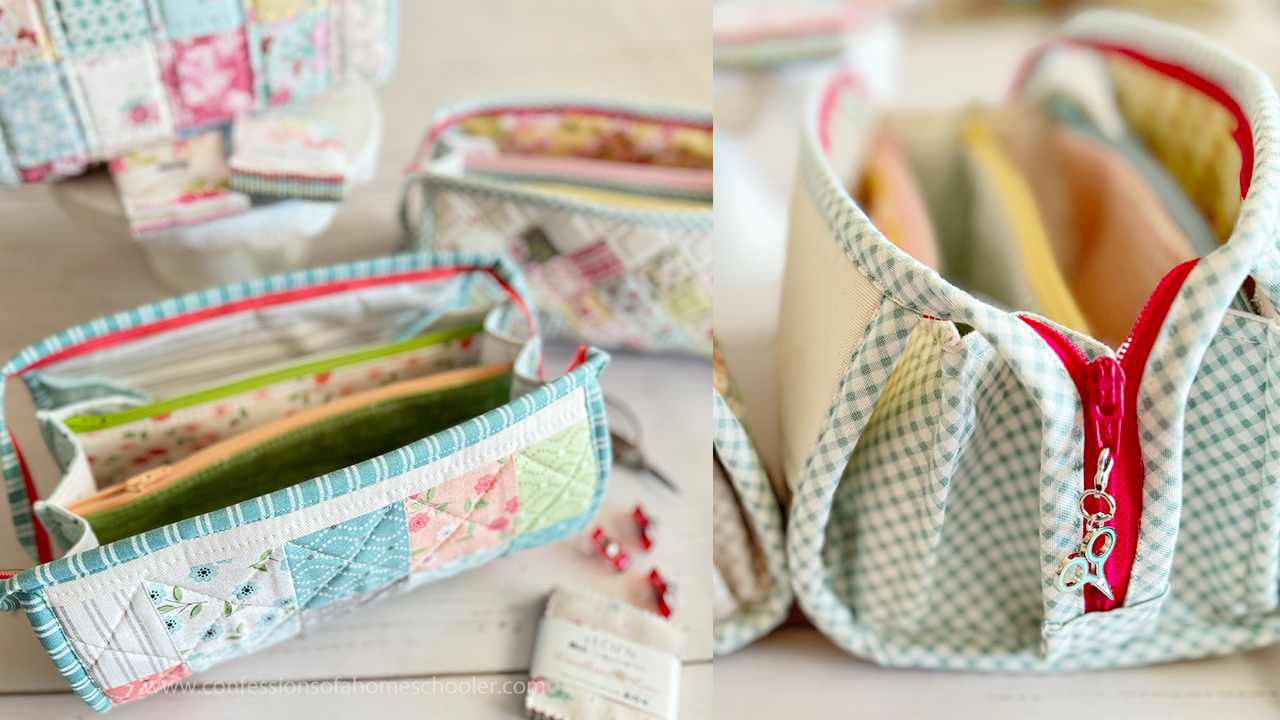
TIP #4: The bag calls for exact-size zippers. I prefer working with zippers that are longer than needed so I can cut them down! In the video, I will show you how to do this! The only zipper I got the exact size for was the outer zipper. But after putting them together, I think I would prefer a bit longer zipper for that outer one. The pattern calls for an 18″ zipper, but if I make any more of these I’ll probably go for a 20″ zipper. Note: If you get a longer zipper, you will need to adjust the length of the binding strips as well.
TIP #5: As you can see, these bags can get a bit bulky with all of the layers. If your machine is having a hard time getting through all of the layers, I recommend trying a denim needle on your machine, a sewing stiletto tool to help push the fabric through, and going slow!
Do you need a compensating foot for the juki for sewing bags, or if not what foot do you use. I just got a juki. Thanks Janet
Hi, I just use the foot that came on my machine and so far it’s worked great!
Thank you so much for the tutorial, would not have been able to make it without your video, came out a bit off when the sides were sewn down but still looks good. Will try again.
I purchased the PDF on Tuesday and it disappeared before I could do anything with it. I can’t find it anywhere and I don’t want to have to purchase again.
Hi Anne, I’m sorry you’re having issues, the PDF is sold from Sew Demented, if you are having trouble with your downloads you’ll need to contact her as I do not sell this pattern.