
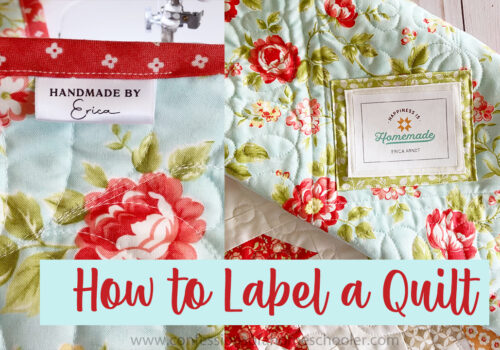
Happy Tutorial Thursday! Today I will show you how easy it is to label your quilts!
Labeling your finished quilts is so easy, and it is a great way to pass down the history of the quilt as it travels through generations. I tend to forget this important step, so adding labels after the quilt is finished is my specialty!
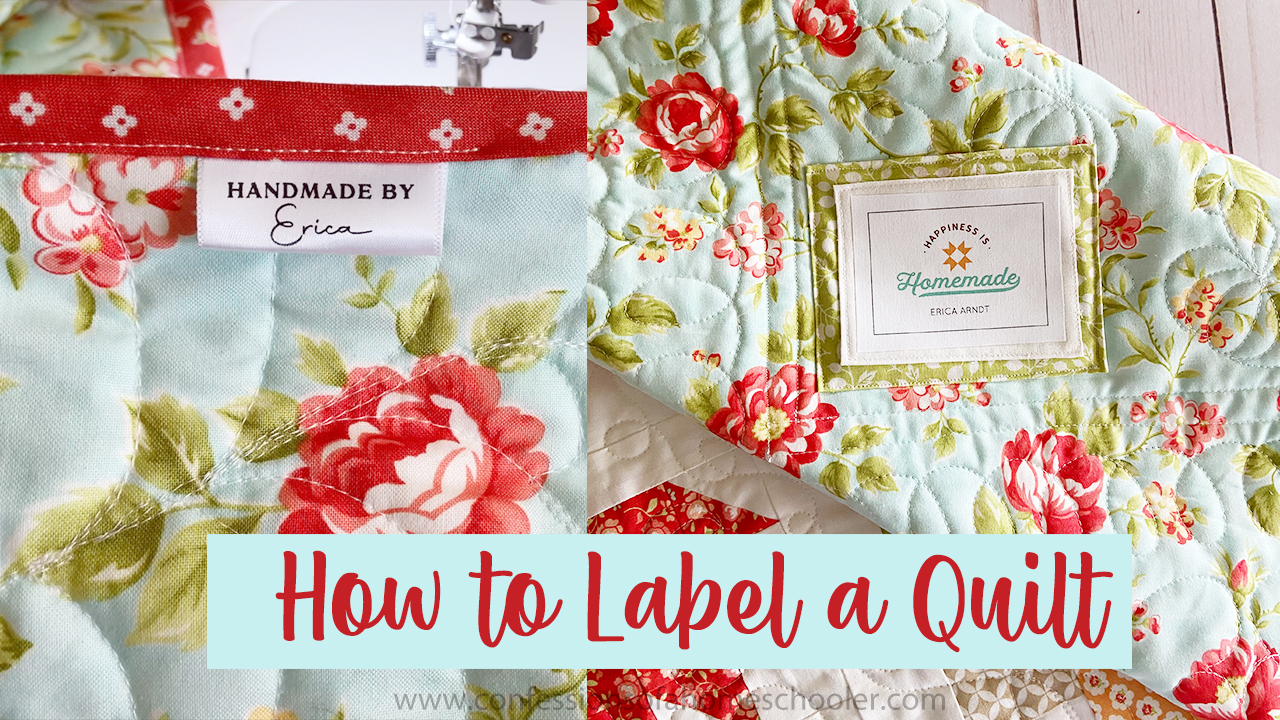
In today’s video, I will show you my two favorite methods for labeling my projects. Keep in mind there are several options out there, I encourage you to choose whichever you love most!
Watch the How to Label a Quilt video tutorial here
Supplies used in the video:
- Personalized Quilt Labels
- Truck of the Month Patterns
- Clover Hot Ruler
- 3-1/2″ Creative Grids Ruler
- Juki TL2000 Qi
- Olfa 45mm Splash Rotary Cutter
- Oliso Pro Smart Iron
- DIY Ironing Board
See below for even more ideas on what material to use, how to write the information, and what information to include on your quilt labels!
Materials you can use:
- Personalized Quilt Labels (Etsy is also a great resource!)
- Corner pocket labels
- Embroidered labels
- scraps from your quilt project
- muslin fabric
- twill tape
- woven labels, and more!
What to label with:
- Computer Printed on Ink Jet Fabric Sheets
- Handwritten labels are great for preserving loved ones memories!
- Embroidered labels are fun too!
- Fabric Sharpie, fabric marker
Some ideas of what to include on your label:
- Quilt Maker (Quilter if sent to a longarmer)
- Recipient
- Date
- Location
- Favorite Quote
- Care instructions
- A small story about the quilt
- Inspiration for quilt
- Person being memorialized