


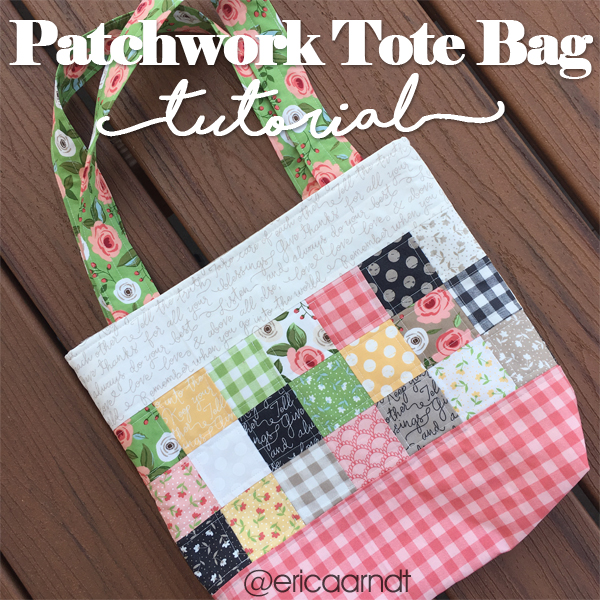
Hi friends! Today I’m going to show you how to make a really fun and easy patchwork quilted tote bag. It’s super cute and beginner friendly too!
Watch my Quilted Patchwork Tote Bag Tutorial here!
Download the Patchwork Tote PDF Pattern here!
Supplies used:
- 5 fat quarters OR scraps to fit sizes mentioned below. (I used Farmer’s Daughter by LellaBoutique for Moda)
- 1 Moda Mini-Charm pack OR 42 – 2.5” x 2.5” squares
- Cotton Batting
- Olfa Splash 45mm Rotary Trimmer
- Creative Grids Acrylic Ruler
- American Crafts Self-healing mat
- Sewing Pins
- Clover Wonder Clips
- 505 Spray Adhesive
- Panasonic NI-WL600 Cordless Iron

Cutting instructions:
Outside fabric: If creating your own unique outside fabric, final measurement should be about 14.5” x 27”
- Top fabric: Cut two pieces 3.5” x 14.5”
- Patchwork section: 1 Moda Mini-Charm pack OR 42 – 2.5” x 2.5” squares
- Bottom: Cut one piece 9” x 14.5”
Lining Fabric:
- Cut two pieces 13.5” x 14.5”. (If you’re using fat quarters like I am cut two pieces of 10.5” x 14.5” and two pieces of 3.5” x 14.5”)
Straps:
- Cut two 4” x 22” strips
Pocket:
- Cut one 7” x 11.5” piece
Batting: (For a bag that holds its shape better you can use fusible fleece or Fusible Foam stabilizer. )
- Outside piece: 30” x 16”
- Pocket piece: 5-1/4” x 6 3/4”
- Strap pieces: Two 1-1/4” x 22” strips
Finished bag size: 12” h x 13.5” w
Here are some more fun quilting tutorials for you!
Disclosure: Some links above are affiliate links. Thank you so much for supporting my blog in this way!
The measurement for the batting pocket piece seems to be incorrect. 5-1/4″ x 6 3/4″ is not large enough for a 9″ X 11 1/2″ pocket. Shouldn’t it be 8-1/2 X 6 3/4″ ?
Hi Julie,
Sorry, actually the pocket size should be 7″ x 11.5″, not 9″ x 11.5″. So the batting sizes are actually correct. Thanks for letting me know about the typo, it’s fixed now.
Are most of your sewing seams 1/4”? Do you have written instructions as well as the video?
I am going to sew bag great to use up scraps
I would also love to have the written pattern, thanks
Hi Kristi,
Thanks for the request, I’ll see if I can get one written up. I didn’t do one for this originally, so it’s just the video instructions right now 🙂
Hello, Thank you for this tutorial! I made this one for a penpal: https://www.instagram.com/p/CNi5hTsjuOj/
Me and my granddaughter thats 11 made one. She loves it and would make another one. Thanks for the youtube 😀.