
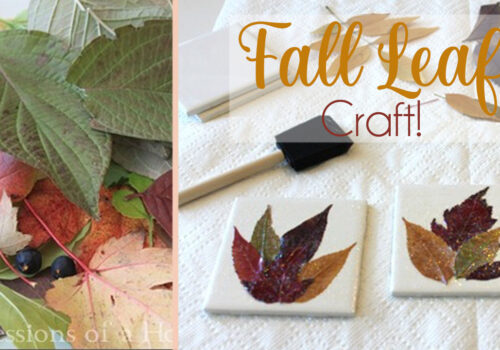

Hi everyone! As you know, we love doing leaf crafts around here, especially in the fall when colors are so vibrant! So today, I have another fun leaf craft for kids that is super easy and cheap!

So let’s see what all we need shall we?
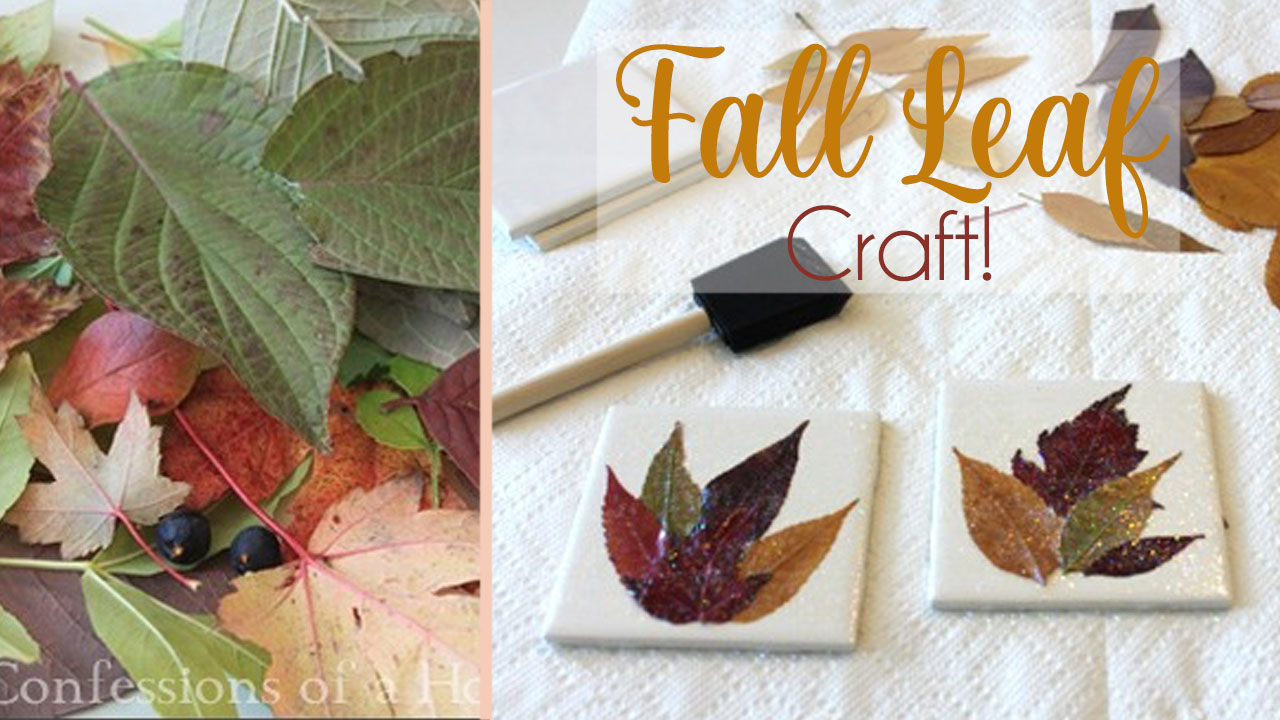
- White bathroom tiles (I found them for $0.16 each at Home Depot)
- A sponge painting brush
- Mod Podge
- A heavy book of some sort for pressing
- Lots of colorful leaves!
- Optional: Felt and craft glue for coaster bottoms
Directions:
The first step, and quite possibly the most fun one, is to send the troops out to gather a variety of leaves. I usually encourage them to try and find ones that are very colorful, as well as some that are more unusual in shape for variety.

Honestly, I think this step is one of the most fun for them. I usually have to set a timer or they’ll be out there all day collecting random leaf specimens. Although that can be helpful if you’re looking for a few extra minutes to yourself …wink, wink…

Okay, now that you’ve collected a variety of leaves, time to bring them in and spread them around your table to see what you’ve got.

Pressing the Leaves: (Do NOT skip this step, it is very important that the leaves be pressed or they won’t lie flat on your coaster surface.)
The next step is to pick out the leaves you think you’ll use, plus some extras in case they break, and place them inside a heavy book for pressing. I used an old book, but if you’re concerned about the leaves leaving a mark, you might want to put some newspaper between the leaves and your book. Mine didn’t leave any marks, but just in case…

Place a few leaves in between the pages of your book, then skip a few pages and place some more and so on until all of your leaves are in the book. Next place your book in a safe place and add something else on top of the book for added weight. I used a case of water bottles. Leave your book setting for about 7-10 days. Finally open your book and check the leaves. You’ll want to make sure they are nice and flat as well as dry.
Carefully remove your leaves and spread them on the table so you can again see your collection.

The next step is to prepare your tile. Have your students select a few leaves that they would like to use and set them out on their clean tile so they can see how the leaves will be arranged.


Once they have their arrangement all set, remove the leaves and paint a thin layer of Mod Podge over the clean tile.

While the tile is still wet from the first coat of Mod Podge, add your first leaf, it should be the bottom layer in your arrangement, and place a think layer of Mod Podge over that leaf.

Add the next leaf and a layer of Mod Podge over that one, and so on, until all of the leaves are arranged onto your tile. Allow this layer to dry completely.

Once all of the tiles are completed and the layers of Mod Podge are dried, add one final coat of Mod Podge over your coaster and let dry.

You’ll be able to tell that th etiles are dry by touch, but you’ll also notice that they are not milky looking anymore, but instead will have a nice clear shine to them.

We used a glitter Mod Podge for ours, but I don’t think I like the glitter look with the leaves, so for this craft I would suggest a clear glossy Mod Podge. Although I do think the glitter one would be great for use on Christmas coasters!

One final step once the coasters are dry is to add some felt to the bottoms so they don’t scratch your tables. You can either purchase small sticky backed felt circles, or cut a square of felt and simply glue it to the bottoms.
And here are our completed coasters! These are great for gifts, or simply an addition to your own home.

Leaf Candle Votives:
An alternative to the coaster idea is to use glass mason jars instead of tiles. Using the same exact technique add the leaves to the outside of jar with the Mod Podge. Once completed add a candle to the jar and then enjoy the beautifully lit leaves as they add a nice glow to your evening!
Leave a comment!
Make sure to leave a comment below if you try this at home. I’d love to see pictures of what you all come up with!
I am wondering if you could just use fake leaves instead of real ones..
Are the finished coasters flat once you press the leaves and apply so many coats of mod podge? The stems and such do not pose a problem to keep the surface level and sit drinks on? Some appear to have dimension in your photos. Thanks!
Hi Sandra,
yes, the coasters are flat once you’re done. I pressed the leaves while they dried which helped as well. But the Mod Podge also flattens them a bit as well.
Hi, I think my kids put too much Mod Podge on. They don’t seem to be drying all clear. Perhaps I need to let them dry overnight? I put them on the porch and its a bit cold so am not sure if that has anything to do with it. Any suggestions? I did some before and they were fine, but we are still new at this. We’re giving them as presents for the holidays and are out of leaves! I hope they’re not ruined.
Hi Cruskaia,
If they put on a thick coat i would just let it dry longer, it should clear up overnight. I would NOT put it outside if it’s cold out.
Do the leaves have to be dried or can I iron them flat.
We used a mix of fresh and dried leaves. The fresh work better because dried tend to crumble 🙂
we took the mod podge in the leaf.The didn’t stick on the leaf. what do i do when i try to stick to leaf .
Hi Karen, we just painted the mod podge over the leaves. You’ll need to help hold them down a little bit with your finger until it’s on there, but it should work if you’re careful.
Thank you for the idea. I thought I was going to have to use resin and a whole big project. I’m going and getting everything tomorrow. Thank you thank you thank you
Hi,
So do the leaves get preserved in this way?
Thanks
Yes
I am so excited! I can’t wait to make these! We just moved out of southwestern Florida and are finally in an area where the leaves ACTUALLY turn colors and FALL off the trees and I’m very inspired. What a great art craft!
Do you think this would also work on a canvas to hang on the wall?
What a brilliant idea and a low cost project! Plus very very useful! 😁