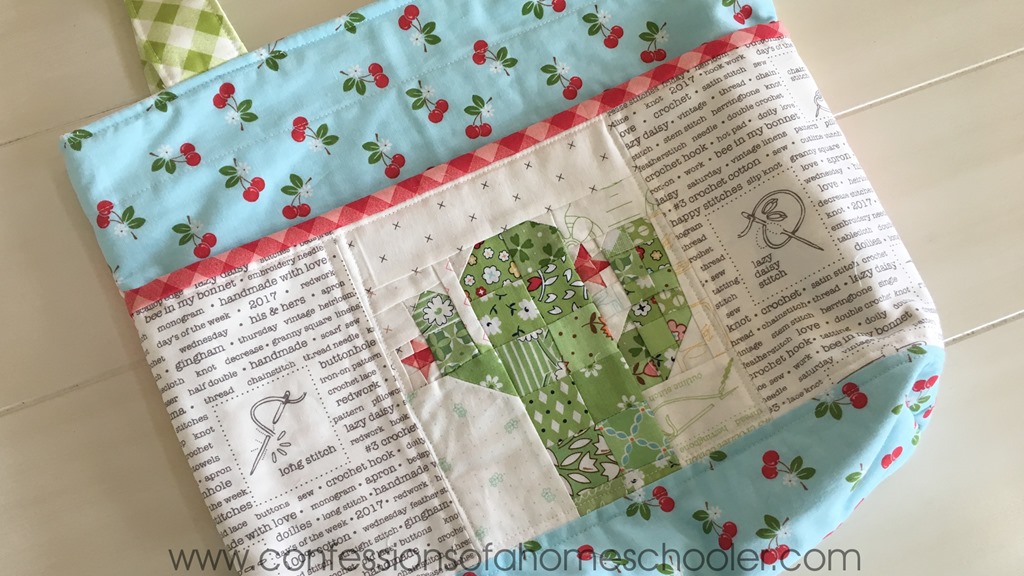
Hi everyone! I have a super fun bag tutorial for you today. This one looks fancy, but it’s really quite easy to make! I’m calling it the Scrappy Pocket Tote Bag. It’s about 14” wide by 13” tall when done and has a total of 4 pockets! It’s a great size project bag for knitting, crochet, or even carrying books, a laptop, etc.
So let’s get started shall we?
Watch my Scrappy Pocket Tote Bag Tutorial video tutorial below, and make sure to grab the PDF download with all of the cutting instructions too!
–>> Download the Scrappy Pocket Tote Bag Cutting Instructions PDF here <<–
If you make this bag please make sure to tag me on social media and use #scrappypockettote so I can see what you create!
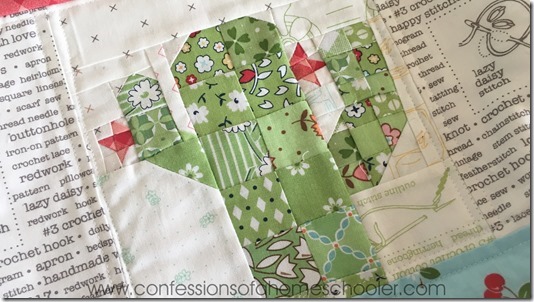
For the front of my tote I used this super cute 6.5” Scrappy Desert Cactus block from Burlap and Blossom Patterns. If you haven’t checked out her store yet, definitely do! She has some of the cutest block patterns I’ve seen!
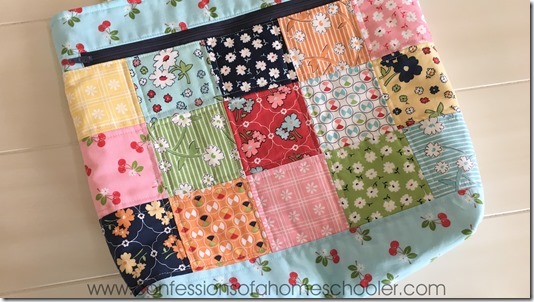
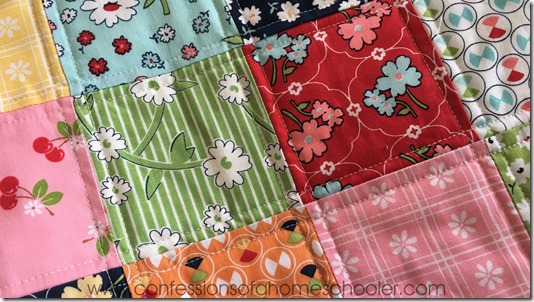
The backside has a fun zipper pocket that looks difficult, but is super easy to install! I also added this fun scrappy patchwork section for the zipper pocket. I used a mix of Lori Holt fabrics for this bag and I think it made the bag so fun and colorful!
To see how to sew together the patchwork section check out my Patchwork Quilting tutorial here!
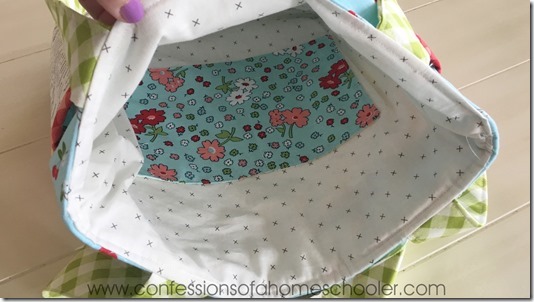
The inside has two simple pockets great for storing pens and pencils, or knitting needles and accessories! The inside is also a great size to house your knitting or crochet projects!
I hope you enjoy this fun tote bag tutorial! If you make this bag please make sure to tag me on social media and use #scrappypockettote so I can see what you create!
If you just tuned in, here are more videos in my How to Quilt Series!
- Quilting Supplies: What do you need to get started?
- How to Choose a Sewing Machine
- How to Choose Fabric
- How to Cut Fabric
- How to Piece a Quilt Top
- How to Press Fabric
- How to Baste a Quilt
- How to Straight Line Quilt
- How to Free Motion Quilt
- How to Bind a Quilt (Machine and Hand!)
- Zipper Pouch Tutorial
- Boxed Zipper Pouch Tutorial
Here are a few more of my Quilting Tutorials online if you’re just getting started:
- Sherbet Stars Quilt Tutorial
- Pink Pig Rag Quilt Tutorial
- DIY Tic-Tac-Toe Board Game (*Great for learning beginning skills!)
- Patchwork Book Cover
- Quilt-as-you-go Book Cover
- Kids Pillow with Pocket
- How to Applique’ Basics (Don’t worry it’s super easy!)
- Thread Catcher Tutorial
Happy sewing!


Yay! I have so many mini charm paks that need a fun new project!
This is such a cute bag. Your designs are amazing!
As usual, a very clear tutorial. You also make them all seem like a lot of fun. I’ve made 11 or 12 from your tutorial….I just had the 5” charm packs, so I adjusted them. Made 4 with them….the others with only a main piece of fabric….not squares. I’ve also made 3 of them smaller….can use as a purse…others large totes to carry “whatever.” Thank you. I don’t know how to tag you….to send a couple of photos??
You can tag me on instagram @ericaarndt or you can email pics I’d love to see them!! I’m so glad the tutorial has been helpful, bags are so fun right!? 🙂
This is an adorable bag. Thank you for shareing.
Exactly what I was looking to make for gifts! Very well explained and your techniques
are fantastic! The linings are made perfect !Love your fabric choices too!!Thankyou!
I see printed instructions for the cutting but not for the assembly. My computer is not near where I sew so would like a printed copy to remind me what you showed on your video. It looks like a cute bag and hope to make it. thanks
Ann Olson
Hi, the PDF pattern comes with printed cutting instructions and the assembly layout. Since this one is free, it doesn’t include step-by-step instructions, so you would have to watch the video for that. Thanks for the request, I’ll consider adding it to my paid-for patterns.